Building a Router Cabinet: Part 1
If you have talked to me much over the last several years one hobby I continue to long for traction on is woodworking. For this hobby in particular, there are a lot of headwinds in getting going. Tools are expensive, materials are expensive, and learning the lessons are costly. I am fortunate enough to have access to a local free Tool Library and have used that to get a lot of tools at no cost to me. It’s still been an uphill battle to actually get much accomplished.
3 years ago, right after my son was born, I started building a router table based on some plans from a wood working magazine. It seemed like a pretty straight foward project, but involved enough to stretch my skills. It was mostly plywood with some hardwood pieces, several drawers for storage and doors to cover it up.
 When I started I hade to piece together different tools to solve problems like cutting wide sheets of plywood or creating dado cuts. As I went I started to learn how to get better, which unfortunately made some of the initial piece joinery to be less quality compared to some of the later pieces. As I went along and figured out how to be more precise, I regretted some mistakes earlier on in the project, but couldn’t really redo those pieces.
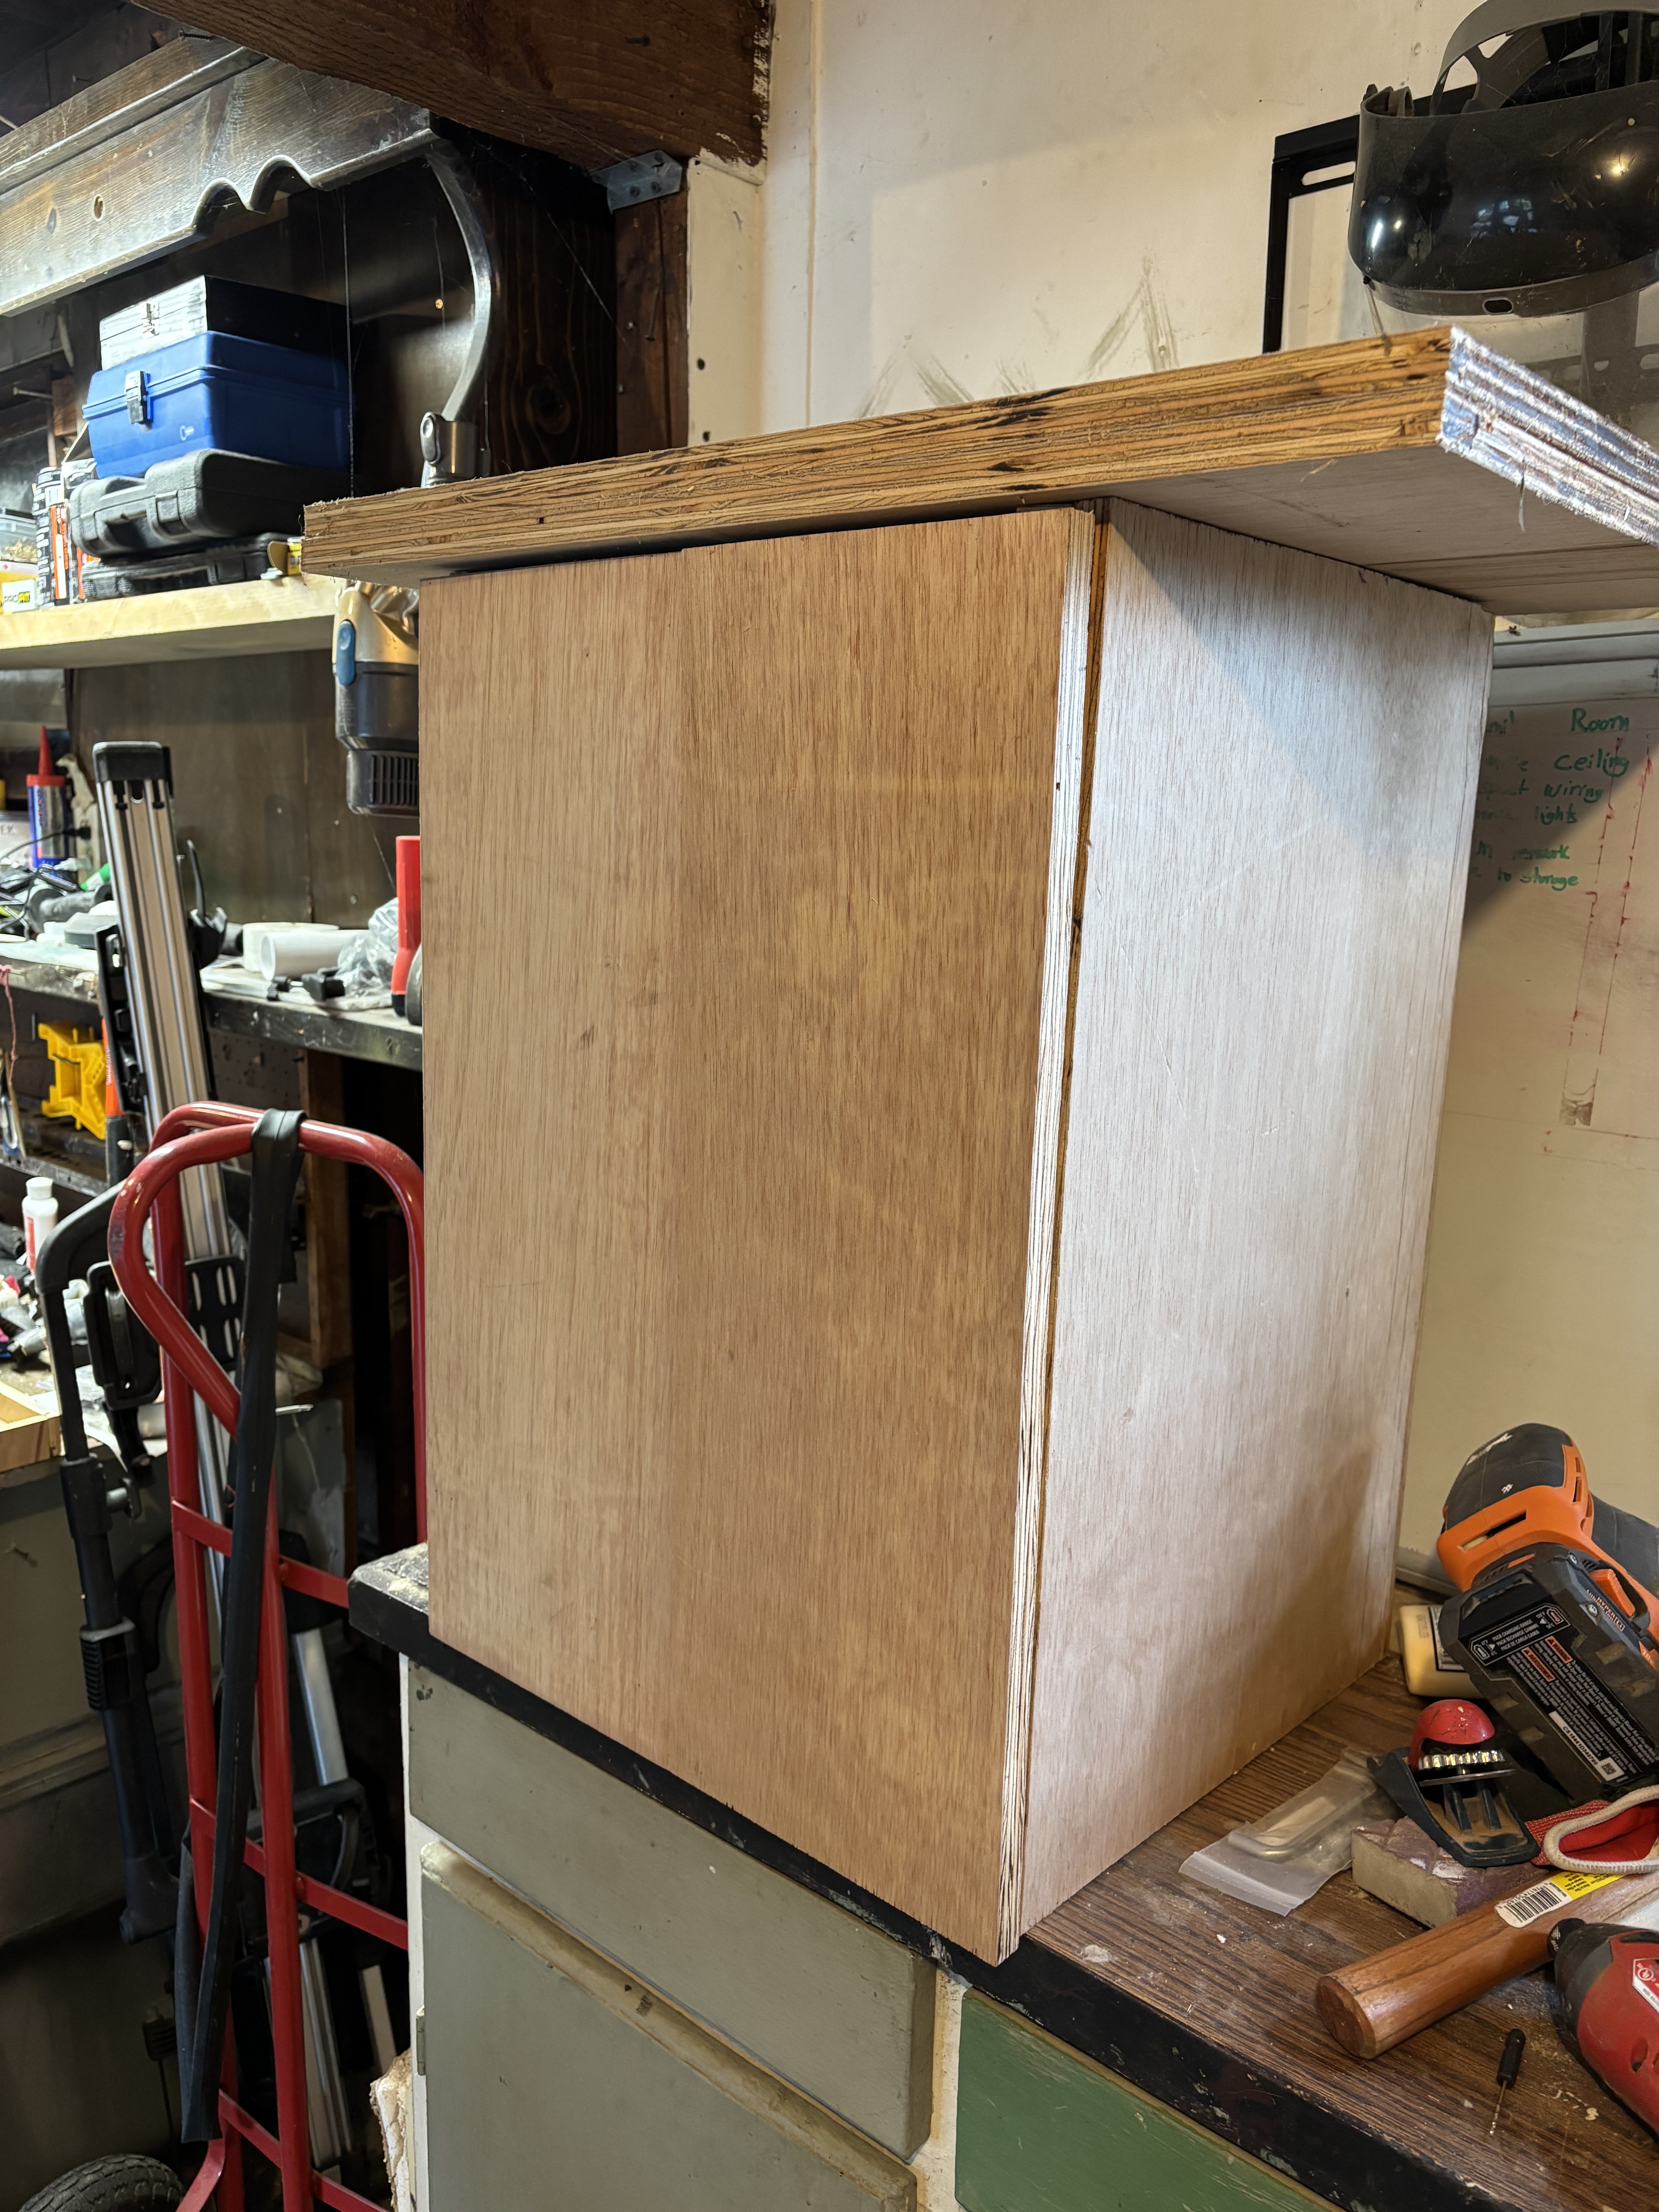
Recently I got back to work with it. The next big section to do was the drawers. Here is where I started to see some of the issues with having imperfections earlier on in my process. The drawers were a tight fit, but once I had the slides lined up and the pieces inserted it functions ok. The doors were the next step. Here I am using what’s known as European-style zero clearence hinges. I got a wide angle hinge which allows the door to open fully which is required for the drawers to slide out past them. In order to install these hinges I needed a large hole so back to the tool library I went. I got a drill press and a set of forstner bits. Once the doors were installed I can see how they didn’t quite line up perfectly plus I want to give them a roundover on the outer edge. Luckily the hinges snap apart pretty easily so that will be my next step along with cutting a mortise to put a door pull.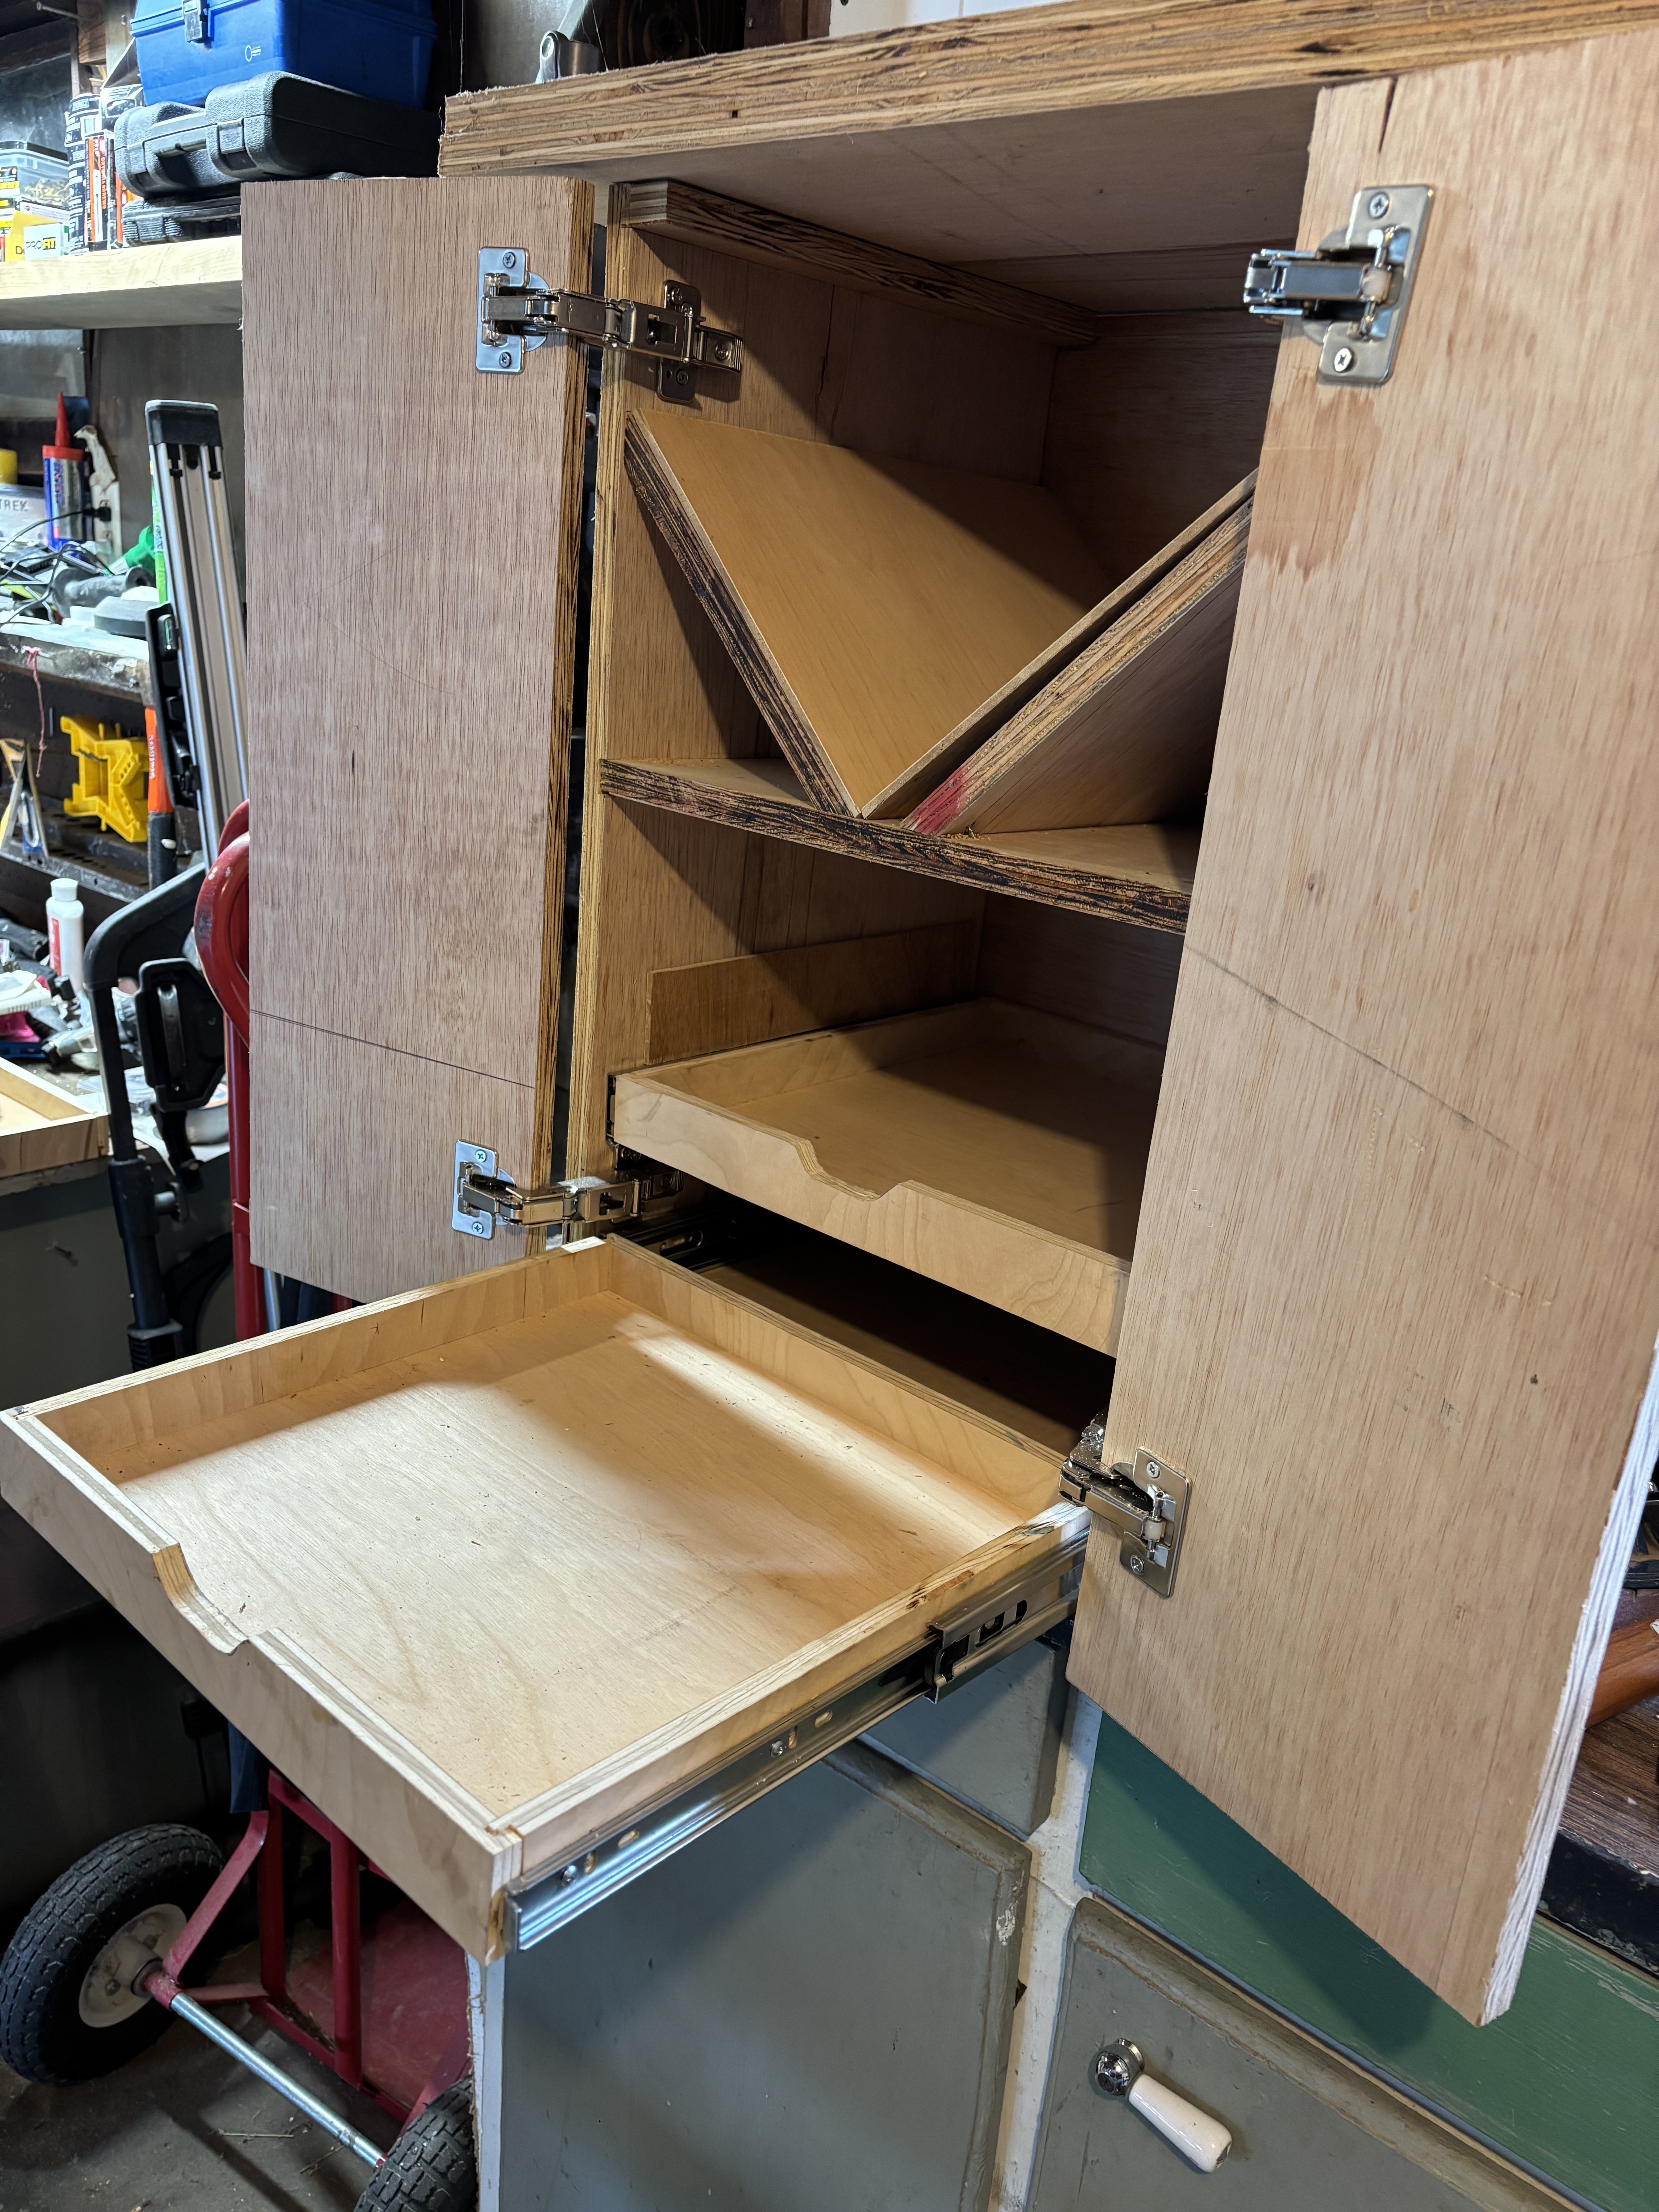
Next steps are few, but require some thought. I need to get legs, but here is another new step for me. The wood required for the legs are wide, so I’ll have to buy several boards and glue them up to cut into the leg shapes I need. Though a commonplace practice, I’ve never done it so I need to go to the lumberyard and collect pieces that will fit together. Ideally they match up from look, but we’ll see what I can find. I also don’t have access to a planer or jointer so I will be prepared for that to create some issues.
Beyond that, the biggest thing left is to get a router lift. They are expensive and need to fit the router it holds. Currently I just have a cheap router from Harbor Freight which I am unsure if thats a standard size or not. I might have to be prepared to try different lifts or be prepared to buy a new router to put in it once I’m finished. Once that’s acquired I can cut out spot for it to attach to the top. Once that’s set up I’ll just need to build out the fence and then I’m done!
I’m planning on being better at taking some in-progress shots as I go along so future dev diaries can show them, and then possibly have a video showing the whole project when I’m finished.